
Beginner’s Guide for Stable Diffusion Image Generation
Step into a realm where pixels and algorithms collide, where innovation sparks boundless artistic possibilities. Welcome to our blog dedicated to the captivating world of generative AI image tools. Here, we embark on an exploration of how artificial intelligence is revolutionizing the art of image creation. Throughout this series, we will endeavor to explore various AI image generation tools.
A. Introduction
In this guide, we will be using the Stable Diffusion, the most versatile generative artificial intelligence tool available. Stable Diffusion not only develops day by day thanks to the efforts of StabilityAI, but also thanks to the amazing community behind it. We will explain how stable diffusion works in a rather simplified way in our upcoming guides, so stay tuned.
B. Setup
In this guide, we will be using the Google Colaboratory notebook provided and maintained by the Github user camenduru. The Google Colaboratory notebook can be reached from here
After clicking on the link, we will see a notebook that looks somewhat like this:
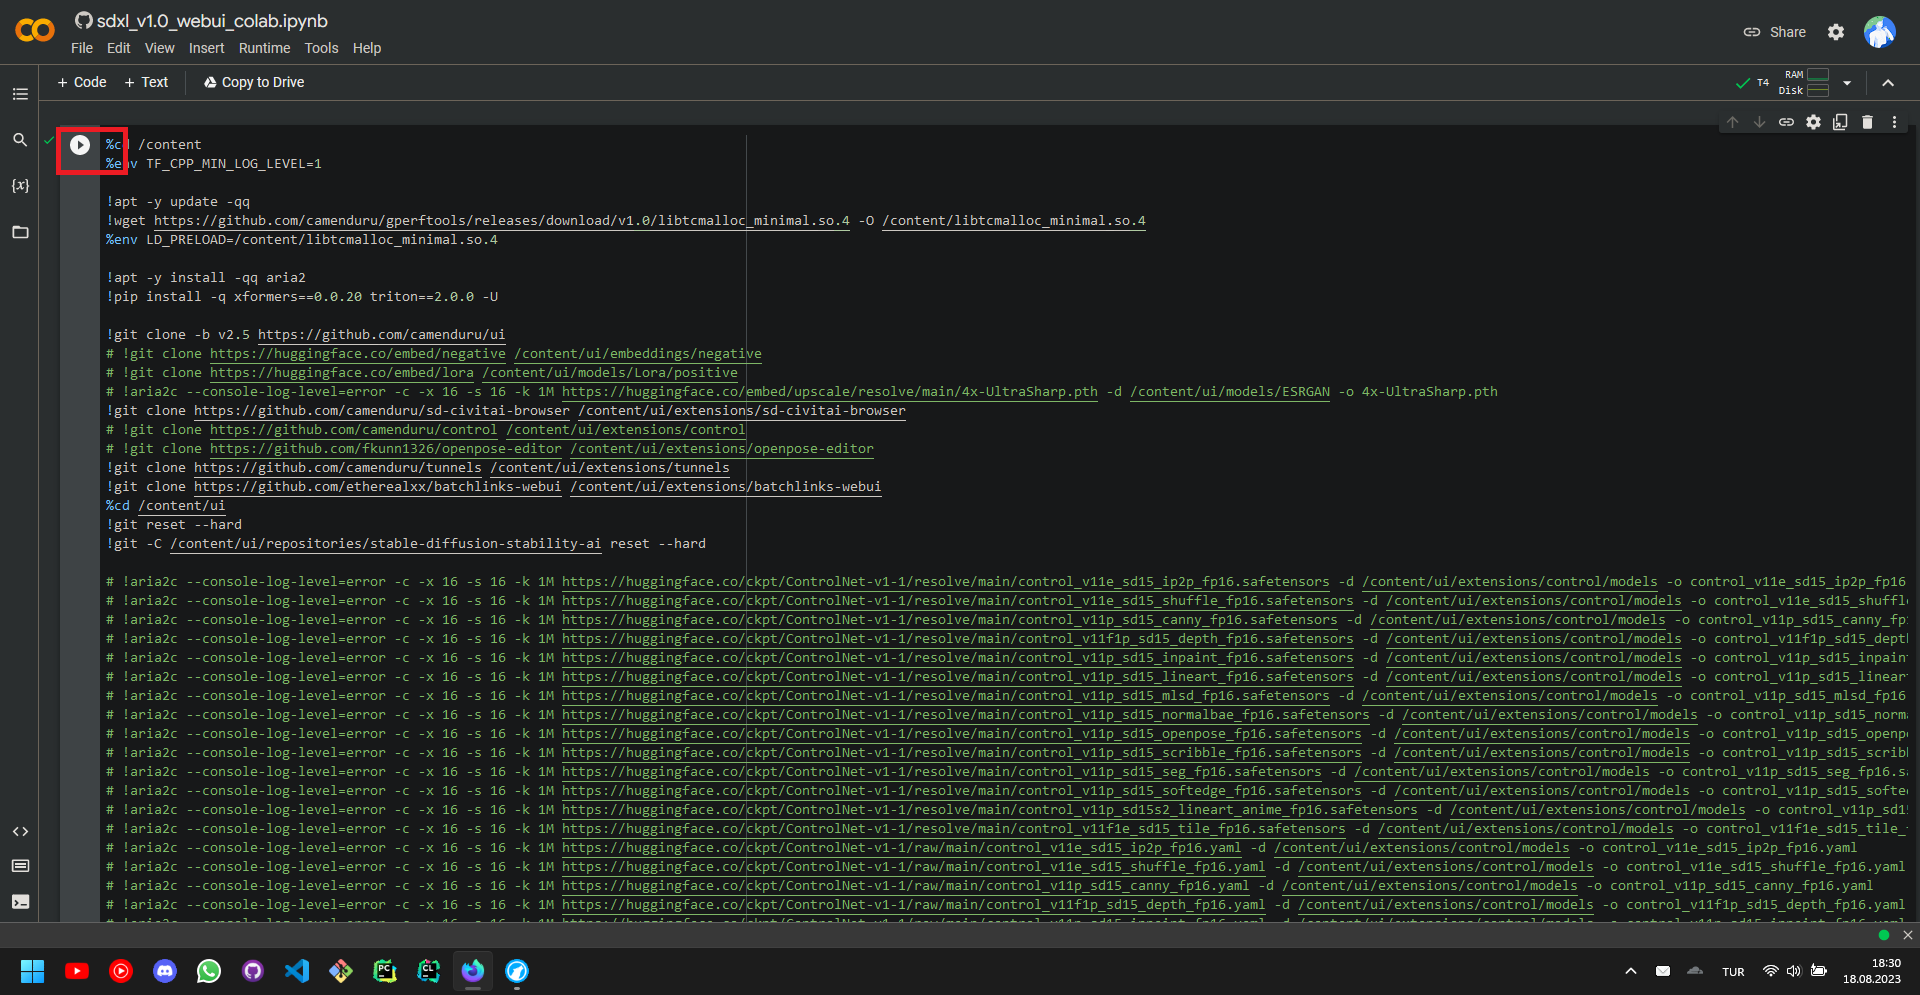
We can simply run the one and only cell of the notebook to start the setup process, which will take about ~10 minutes.
After the setup is complete, we can simply scroll down to see the links that will lead us to the Stable Diffusion user interface, we will, in this guide, arbitrarily follow the second link.
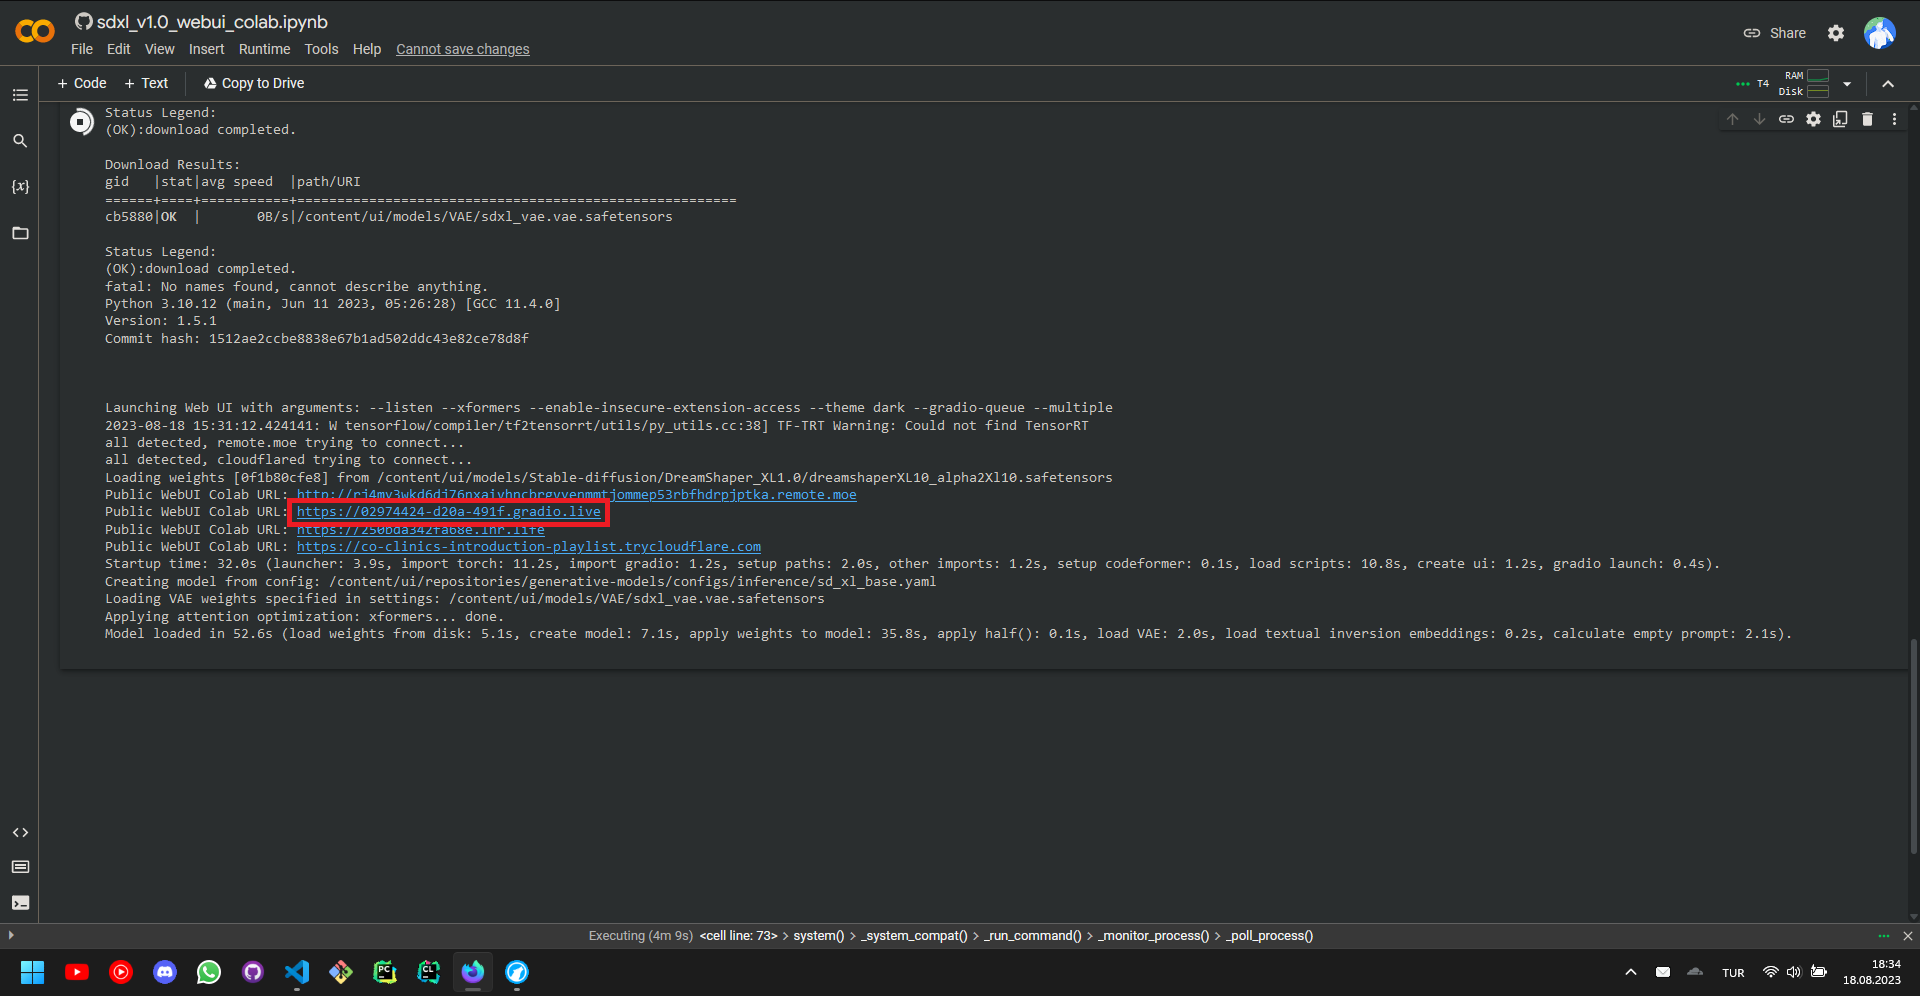
The setup is now complete, and we have a Stable Diffusion user interface ready to be explored.
C. User Interface
In the previous section, we have setup the Stable Diffusion user interface, which somewhat looks like this on the first glance. Now, let’s start to explore one by one what each parameter does, and how.
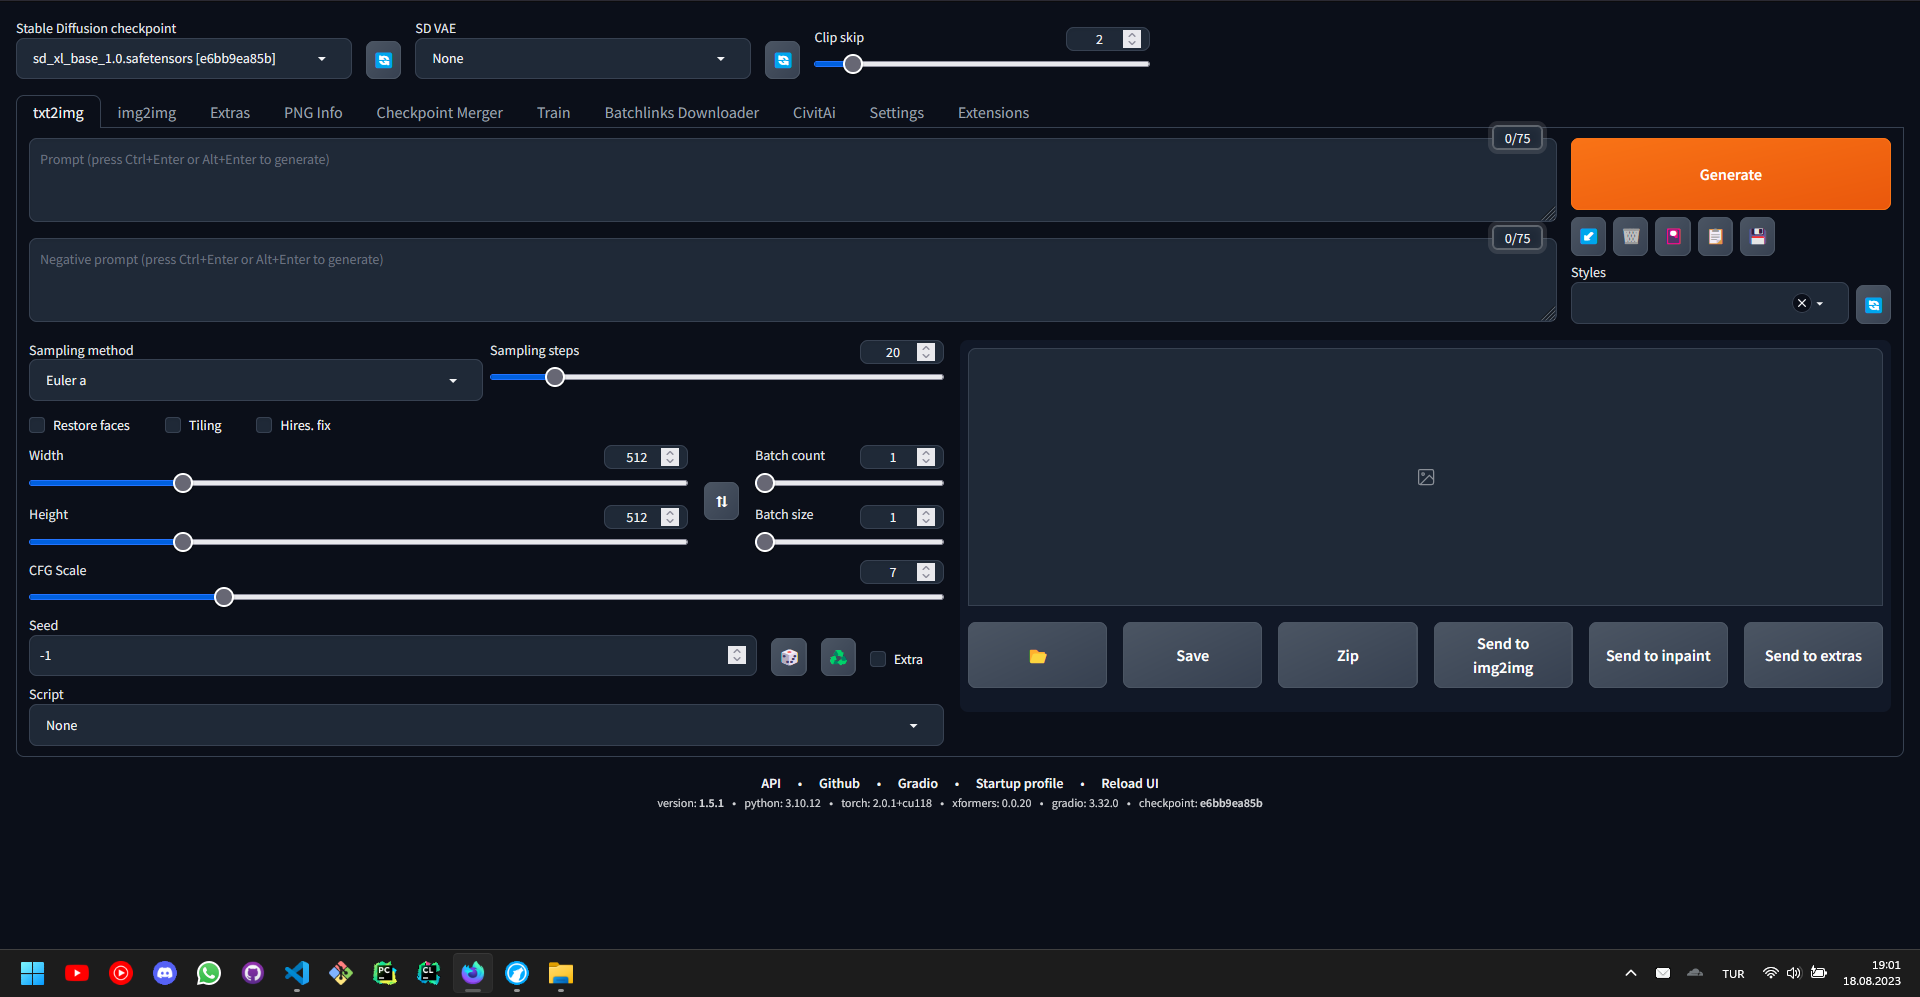
The Stable Diffusion Checkpoints are pre-trained weights that are used to generate a wide range of images.
- Based on the dataset that a checkpoint is trained on, it can do better or worse in certain situations compared to the other checkpoints.
- The checkpoint files come in two flavors, namely, the .ckpt files and the .safetensors files. Whenever possible, the .safetensors version of the checkpoint file should be used, for it is almost always safe to use.
The Stable Diffusion VAEs are variational autoencoders that are used to reduce the dimensionality and enhance the generative process.
- A VAE basically improves the rendering of the details depicted in the images, such as eyes, fingers, and colors.
- If the checkpoint file that is used has a baked VAE, you need not use a VAE file yourself, but otherwise, it is almost always advised to use one.
- There are two types of VAEs, namely, EMA and MSE VAEs, where EMA is in most cases used for realistic image generation and MSE is used for non-realistic image generation.
- The VAE files also come in two flavors, namely, the .ckpt files and the .safetensors files. Again, whenever possible, the .safetensors version of the checkpoint file should be used, for it is almost always safe to use.
The CLIP Skip specifies how many layers of the CLIP Model to be skipped.
- If the CLIP Model consists of n layers, the CLIP Skip = 1 clause will skip no layer, whereas CLIP Skip = 2 will skip the last layer and CLIP Skip = 3 will skip the last two layers.
- The skips in the CLIP Model provide more creativity, as well as a slight improvement in the performance.
- It is advised to set this setting to CLIP Skip = 1 or CLIP Skip = 2, as otherwise the images may not be as refined.
The Sampling Method specifies the algorithm to generate the image.
- Each algorithm has its own benefits and charms.
- The algorithm not only changes the image generated, but also the hardware performance, some algorithms being slower than others can significantly affect the image generation times.
- Algorithms are not limited to the ones listed in the user interface, there are many other additional ones.
- My favorite algorithm for text-to-image generation is DPM++ 2M Karras.
The Sampling Steps specify the number of iterations to correct the image after the initial image has been generated.
- Each algorithm works efficiently in a different number of sampling steps range.
- Generally, we want to keep the number of sampling steps between 20 and 50, as if we go lower we can get unpolished images and if we go higher we might not get useful improvements.
- Some algorithms disregard the sampling steps parameter and decide on the sampling steps based on the other parameters.
The Width and Height specify the number of pixels in the x and y dimension of the image, respectively.
- Each increase in the number of pixels increases the latent space size, which increases the time required for each sampling step.
- If the number of pixels increases, the details in the image also increases.
- Practically, a 512x512 is generated 2 times faster than a 512x1024 image and 4 times faster than a 1024x1024 image.
The CFG Scale determines how heavily the prompt and the negative prompt will affect the image generation process.
- If the CFG Scale is high, then the image that will be generated will not deviate much from the prompt and the negative prompt, resulting in a decrease in the creativity.
- Similarly, if the CFG Scale is low, then the image that will be generated might contain surprise elements, and the image might not be as according to the user’s needs.
- It is good practice to set CGF Scale somewhere between 7 and 15
The Seed determines the differences between two images that are generated with the same parameters.
- If two images are generated with exact same parameters and same seed, then they will turn out to be exactly the same images.
- If two images are generated with exact same parameters but this time, with a different seed, then they will turn out to be similar, but different.
The Batch Count determines how many batches will be generated.
- The batch count simply specifies how many batches will be generated one by one, in a linear fashion.
- The batch count does not affect the computational power required, it simply will generate more batches as the time passes.
The Batch Size determines how many images each batch will contain.
- The batch size simply specifies the number of images to be generated in each batch.
- Consequently, the batch size will affect the computational power requirements, as it will specify how many images to be generated in a parallel fashion.
The Prompt and the Negative Prompt is where the magic happens.
- Simply write what you want to see in the image to be generated.
- The key point is that, you should generally write your prompts with Booru tags, as the majority of the checkpoints for Stable Diffusion are trained on Booru image datasets.
- Try to look up what tags are available to you in a Booru site, and write your prompt accordingly, or simply install an extension to autocomplete the tags for you.
- A prompt should look like “masterpiece, best quality, high quality, 4k, 8k, white horse, running” instead of “Draw me a high quality running horse”. For some models, both are fine though.
- Try not to exceed the number of tokens in the upper right corner.
Notes:
-
We will talk about more advanced topics related to Stable Diffusion in the future.
-
The notebook will probably reset once everyday, so if you have generated some great images, do not forget to download them.

